Mirage: A Complete Guide to Every Position in CS2

Mirage: A Complete Guide to Every Position in CS2
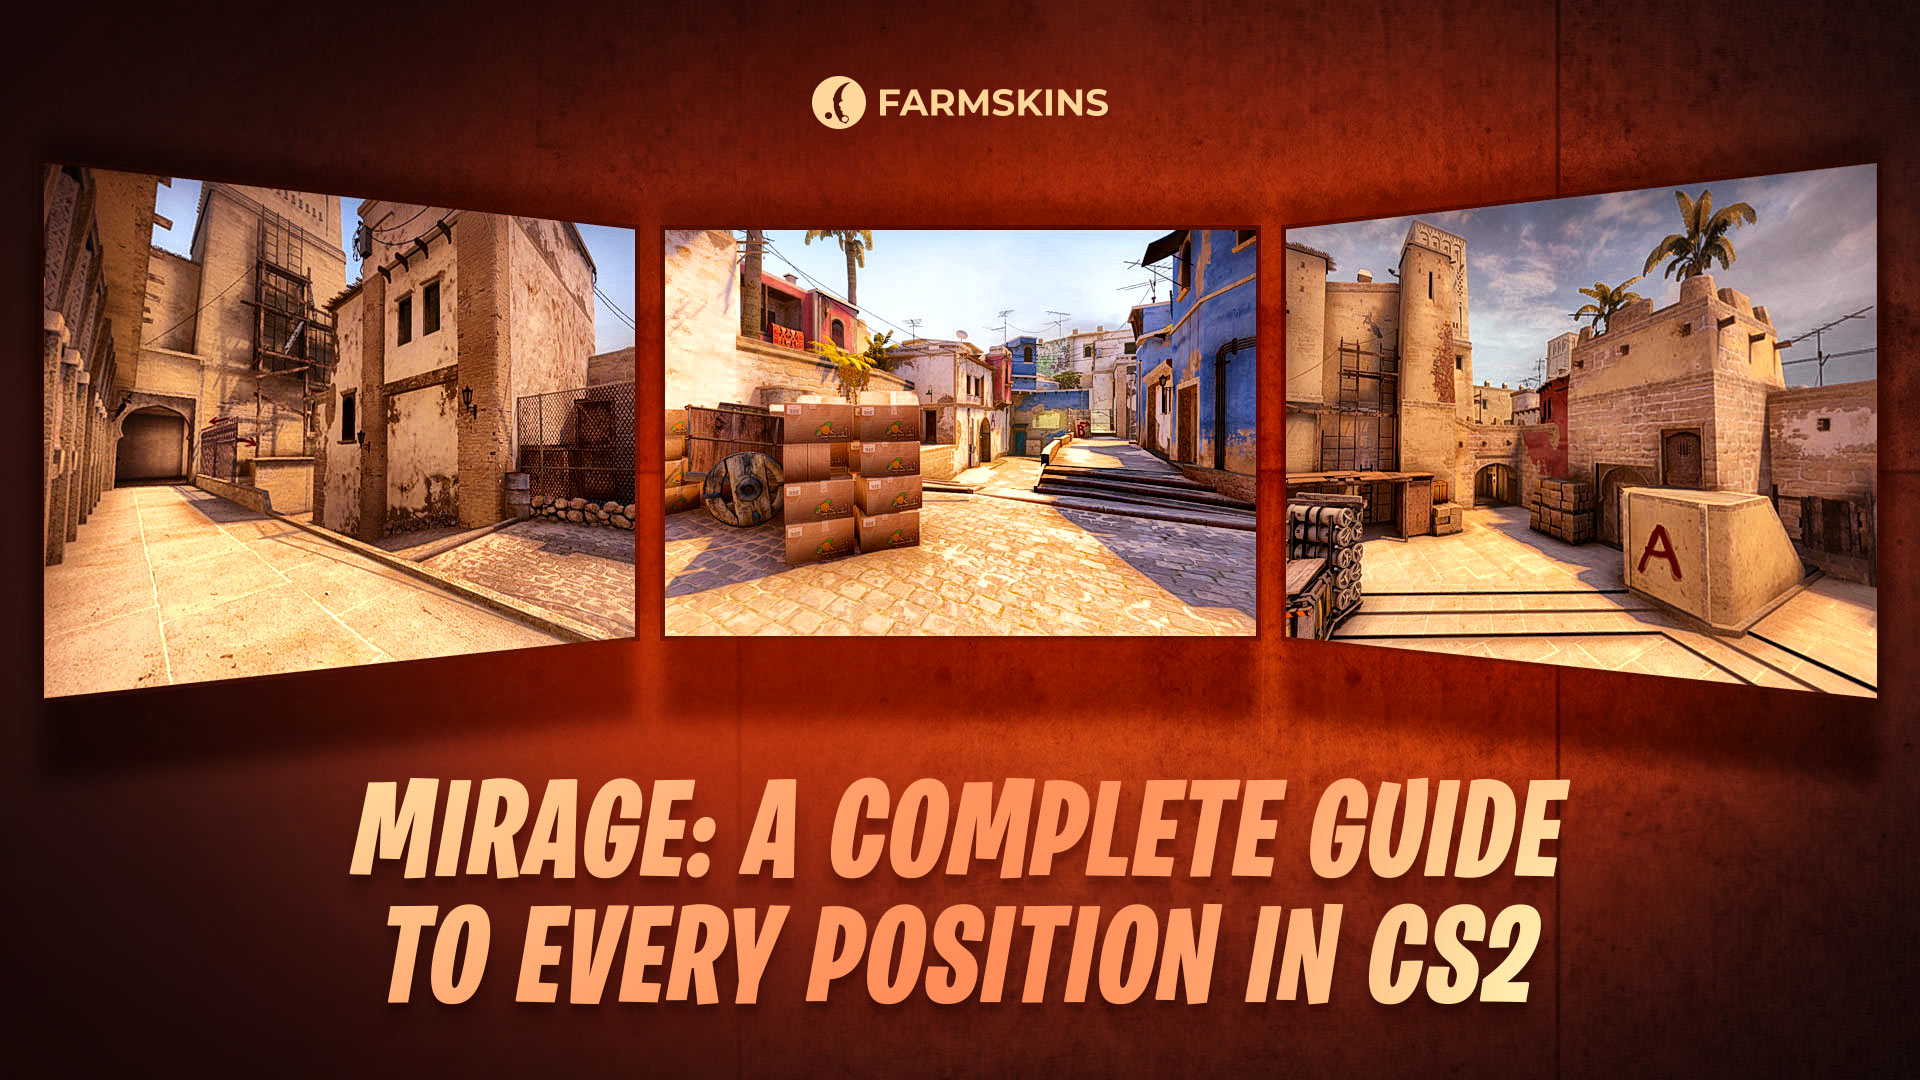
Mirage stands as one of most CS2 iconic maps, renowned for its strategic depth and need for precise map knowledge. Understanding every position is essential for players looking to communicate effectively, execute coordinated attacks, and set up strong defenses. This guide will cover each position on Mirage, providing players with a comprehensive reference to dominate the map and improve team synergy.
Overview of Mirage Map Structure, Detailed Breakdown of Bombsite A Positions, Comprehensive Mid Positions, In-Depth Coverage of Bombsite B Positions
Overview of Mirage Map Structure
Mirage CS2 map is divided into key areas, each with unique positions that shape gameplay. The map has two main bomb sites, A and B, along with a central Mid area, which serves as a strategic hub for both teams.
-
T-Spawn and CT-Spawn: These are the starting points for the Terrorist (T) and Counter-Terrorist (CT) teams, respectively. T-Spawn offers direct paths to Bombsites A and B, as well as Mid. CT-Spawn provides quick rotation options to defend both sites.
-
Bombsite A: Positioned near CT-Spawn, Bombsite A features multiple defensive positions, including Ticket Booth and Jungle for CTs, as well as entry points like A Ramp and Palace for Ts.
-
Mid: Acting as the map’s central control point, Mid allows both teams to gain visibility and strategic access to either Bombsite. Control of Mid, with key areas like Window and Catwalk, offers a significant tactical advantage.
-
Bombsite B: Located near Apartments and Market, Bombsite B has key defensive positions like Van and Bench. It’s accessible from Mid via Catwalk and Short, providing additional pathways for both offensive and defensive plays.
Game Sense and Reading Opponents in CS2
Detailed Breakdown of Bombsite A Positions
-
A Ramp: Located at the main approach for Ts pushing toward A, A Ramp offers cover while advancing and is a common spot for Ts to hold before committing to an attack. CTs often throw utility here to delay or disrupt the T push.
-
A Main (A Entrance): Positioned just beyond A Ramp, A Main is another primary entry point for Ts. It provides a direct line of sight to the A-site and serves as a chokepoint where both teams often throw grenades to gain early control.
-
Palace: Elevated above A Main, Palace allows Ts to observe much of Bombsite A. It’s ideal for setting up sneaky plays and launching surprise attacks, as Ts can jump down to enter A-site. For CTs, holding Palace control is crucial to avoid unexpected flanks.
-
Tetris: Just below A Ramp, Tetris provides Ts with extra cover and is often used for regrouping before pushing onto A-site. It’s a staging area that offers a good line of sight toward CTs on site but also puts Ts at risk from crossfire.
-
Default Plant: This is the standard and safest position for planting the bomb on A-site. Located in front of Firebox, it allows Ts to plant quickly while remaining partially covered from certain CT positions.
-
Firebox: Situated near the Default Plant spot, Firebox is a popular hiding position for Ts in post-plant scenarios. It’s concealed from the initial CT push, making it ideal for surprise kills or clutch plays.
-
Ninja: Adjacent to Firebox, Ninja is a niche hiding spot that provides strong cover but limited visibility. It’s often used by Ts who plan to ambush unsuspecting CTs retaking the site.
-
Ticket Booth: Ticket Booth, located near CT-Spawn, is a prime position for CTs defending A. It offers cover and a vantage point for spotting Ts entering from Ramp or Palace. CTs commonly use this spot to control A-site access and snipe at incoming enemies.
-
Stairs: Just outside of Jungle, Stairs gives CTs a height advantage over Bombsite A, providing clear lines of sight toward A Ramp and A Main. It’s a pivotal spot for picking off advancing Ts and holding A control.
-
Jungle: Jungle is positioned between A and Mid, acting as a crucial rotation spot for CTs. It provides cover and quick access to Stairs and Connector, making it essential for CTs looking to rotate between A and Mid control.
-
CT Spawn (CT): The spawn area for Counter-Terrorists, CT Spawn serves as a defensive position when protecting Bombsite A. It’s an entry point for CTs rotating from B or respawning, and it offers a clear line of sight onto A-site, particularly around Default Plant and Firebox.
Comprehensive Mid Positions
-
Top Mid: This is the main entry point into Mid for Ts from T-Spawn. It offers cover and sightlines toward Window and Catwalk, making it a common spot for Ts to hold and challenge CTs who may be pushing or peeking from Window. Control of Top Mid gives Ts access to Mid Boxes and Connector.
-
Mid Boxes: Located in the center of Mid, Mid Boxes provide partial cover and are often used by Ts to peek Window or Connector. CTs also use this spot to control Mid, often by smoking it off to block the T-side line of sight.
-
Window: Situated on the CS2 CT side, Window is a prime defensive position that gives CTs a clear view of Mid. From here, CTs can monitor the movements of Ts in Top Mid and Mid Boxes. This position is essential for controlling Mid but can be easily contested by Ts using smoke grenades or boosts.
-
Sniper’s Nest (Nest): Adjacent to Window, Sniper’s Nest is an elevated position that provides an excellent vantage point over Mid. It allows CTs to snipe or scout without direct exposure, though Ts often attempt to smoke off this area or utilize boosts to counter it.
-
Connector: Connecting Mid to Bombsite A, Connector is a critical path for both CTs and Ts. It allows CTs to rotate between sites and offers Ts an additional entry point to A-site. Holding Connector gives a team greater control over rotations and keeps Mid pressure high.
-
Catwalk (Short): This elevated pathway connects Mid to Bombsite B, allowing Ts a secondary route to B through Apartments. For CTs, holding Catwalk is essential to defend B-site from Mid pushes. The area provides cover with multiple angles and is a common spot for close-range encounters.
-
Ladder Room: Located next to Window and connected to Catwalk, Ladder Room is a small but crucial position for both CTs and Ts. It offers CTs a chance to hold Catwalk and Mid while also covering rotations. Ts can use Ladder Room to transition from Mid to B-site, adding an extra layer of unpredictability.
How to Peek Properly in CS2: A Complete Guide
In-Depth Coverage of Bombsite B Positions
-
Apartments (Apts): This is the main entry point for Ts when attacking B-site. Apartments provide cover as Ts approach, allowing them to hold angles and peek into B-site safely. It’s also a common spot for Ts to gather before executing a push. CTs often throw utility here to delay or block visibility.
-
Balcony: Located just outside Apartments, Balcony is where Ts often pause before dropping into B-site. It offers a bird’s-eye view over parts of the site, and Ts can use it to surprise defenders or throw utility. CTs need to be aware of this position to avoid being caught off-guard by players dropping in.
-
Van: Positioned near the entry from Catwalk, Van provides cover for CTs holding B-site. It’s often used to watch both Apartments and Short pushes, allowing CTs to control key entry points. Players at Van must be mindful of Ts peeking from Balcony, as it’s an exposed position without additional support.
-
Bench: Located to the right of Van as you look from Apartments, Bench is a defensive spot often used by CTs to hold B-site. It offers cover and a different angle for engaging Ts, making it ideal for crossfire setups with teammates in Market or Kitchen. CTs can also use Bench to surprise Ts who rush the site.
-
Default Plant: This is the standard, safest position for planting the bomb on B-site, located near the back of the site close to Bench. It offers partial cover and is generally easy to defend in post-plant situations. CTs should be aware of this spot as Ts will often prioritize planting here for cover.
-
Back Site: Positioned deeper into B-site, Back Site provides more cover for defenders who want to hold off pushes or delay plant attempts. It’s often used by CTs to stay concealed, waiting to retake or surprise Ts in close-range engagements. This spot is highly defensible but vulnerable to utility.
-
Short (Catwalk): This pathway connects Mid to B-site, allowing CTs to rotate quickly or hold off T-side pushes. Control of Short is essential for CTs, as it prevents Ts from reaching B-site easily. Ts also use Catwalk to support B pushes, making it a high-traffic area that both sides fight for control over.
-
Market: Market serves as the main rotation point for CTs moving to B-site from CT Spawn. It has two entry points: one leading directly to the site and another to Kitchen. Market provides cover and a good line of sight to defend the site from multiple angles, making it critical for retakes.
-
Kitchen: Kitchen is a small room within Market that opens onto B-site. It’s commonly used by CTs to peek into B and is essential for post-plant retakes. Kitchen provides cover but limits sightlines, so it’s important for CTs to coordinate with teammates in Market or on Catwalk.
Mastering the positions on Mirage is essential for effective team coordination and strategic gameplay in CS2. Knowing every spot—from bombsites and Mid to rotational paths—empowers players to communicate accurately, execute precise plays, and control the map. With practice, these callouts can transform how you approach Mirage, giving your team a tactical advantage and boosting your overall performance.


