Essential Flashbang Techniques in CS2 for Beginners

Essential Flashbang Techniques in CS2 for Beginners
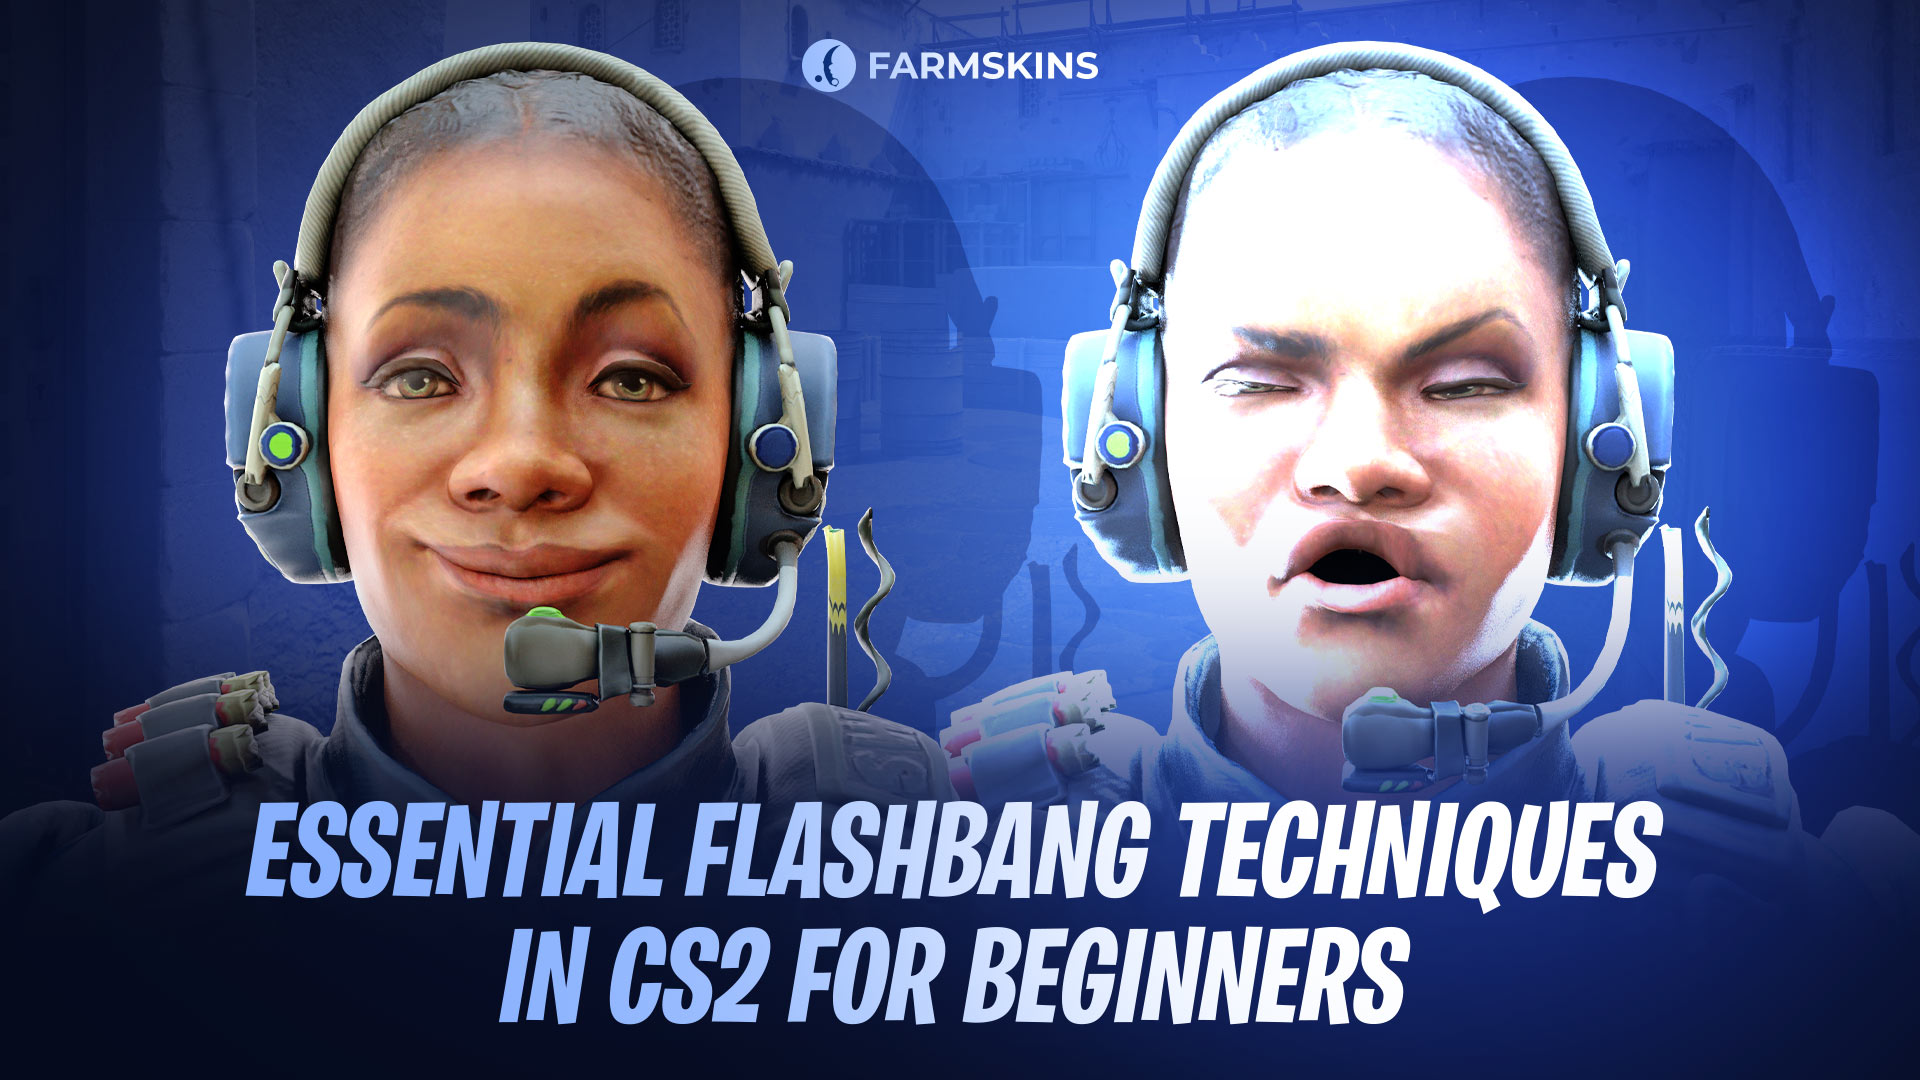
Flashbangs in CS2 are powerful tools that come in two types: pop flashes, which are hidden until they explode, and reactable flashes, which opponents can see but are often underused. Mastering both, especially reactable flashes, lets players control fights and disorient enemies effectively. A well-timed flashbang cs2 can completely turn the tide of a round, and understanding when to use each cs2 flashbang type is a mark of an experienced player.
To improve consistency, many players create a personalized bind flashbang cs2 setup, allowing them to throw utility more efficiently. Having a solid cs2 flashbang bind means you can quickly pop flashes or throw deep setups without hesitation. Some pros even use specific binds when practicing with the black flashbang cs2 effect enabled, which simulates complete screen obstruction. This cs2 black flashbang approach helps train positioning and recovery after being blinded.
Flashbang Basics, Wide flashing, Using Cover for Flashbangs, Simple Flash Techniques, Practicing Basics
Flashbang Basics
In CS2, understanding the basics of flashbangs is essential for making the most of these powerful tools in gameplay. Flashbangs come in two main types: pop flashes and reactable flashes, each serving a unique purpose.
Pop flashes are designed to catch opponents by surprise. When thrown, they explode without giving much visual warning, often blinding enemies before they have a chance to react. These flashes are ideal for situations where you want to take control of an area quickly or push aggressively, as they leave opponents disoriented with little time to respond.
On the other hand, reactable flashes are visible to the opponent before they pop, allowing them to react by turning away or repositioning. Because of this, many players underestimate the power of reactable flashes, often assuming they are less effective than pop flashes. However, reactable flashes are incredibly versatile and can provide a significant tactical advantage when used correctly. By forcing opponents to turn away or risk being blinded, reactable flashes create openings and disrupt defensive setups, allowing you to control the pace of the fight.
The key to using both types effectively lies in understanding when to deploy each one. Pop flashes work well for swift, aggressive plays, while reactable flashes are excellent for setting up controlled engagements and creating pressure on opponents.
Wide flashing
One key element in throwing effective CS2 flashbangs is making them “wide” from your opponent’s perspective. Instead of aiming directly at an opponent’s position, throw the flashbang so it explodes wide and off-angle from their line of sight. This positioning forces opponents to turn farther away to avoid the flash, which is highly disruptive. A wide flash can catch players off-guard, pulling them out of cover or forcing them to turn their crosshair away from where you might be positioned, giving you a clear advantage to take control of the fight.
For example, if you’re on the attacking side and you know an opponent is holding an angle, don’t throw the flash directly onto that angle. Instead, aim for it to explode a bit wider in their field of view, making it harder for them to react quickly. This type of flash is especially useful when facing opponents in static, defensive positions.
CT Positioning in CS2: Macro and Micro Concepts
Using Cover for Flashbangs
Using cover effectively when throwing flashbangs is crucial. Cover allows you to set up a flashbang that doesn’t affect you but still blinds any opponents looking your way. When you have a wall or box nearby, bank the flash off it or throw it from behind cover. This technique ensures you stay unblinded and gives you the opportunity to swing out just as the flash explodes, catching enemies who are forced to turn away or be blinded.
For instance, if you’re behind a wall or obstacle, use it to bank a flash outwards, allowing it to explode in front of your enemy but not within your line of sight. This setup not only protects you but also puts opponents in a vulnerable position, unable to see your move and forced to react hastily.
By combining wide CS2 flashes and effective cover usage, you can maximize the impact of each flashbang. Throwing a wide flash from behind cover ensures that opponents are both forced to turn far away and can’t see you coming. This approach makes it much harder for them to recover quickly, giving you a strong advantage to move into a favorable position or eliminate them while they’re disoriented.
Strategic Bombsite Takes in CS2: Essential Tactics for Every Player
Simple Flash Techniques
The bank and swing technique is one of the simplest yet most effective ways to use a flashbang. It involves bouncing (or “banking”) the flash off a nearby wall before you swing out to engage the enemy. This setup allows the flash to pop just as you peek, leaving opponents with little time to react. For instance, if you’re approaching an angle where you know an enemy might be waiting, you can bank the flash off the wall in front of you, then swing out as it pops. This technique forces the opponent to either turn away from the flash or get blinded, making it easier for you to take control of the fight.
Cover flashes in CS2 are perfect for situations where you have a solid object, like a box or wall, to use as cover. By positioning yourself behind the cover, you can throw the flash in front of it, ensuring it pops in a way that blinds your opponents but keeps you safe. This technique works particularly well when you have cover that allows you to swing out from either side, making it hard for opponents to predict your movements.
The running right-click flash is useful when you’re advancing quickly and want to push into enemy territory. This technique is best for situations where you’re rushing to gain ground or moving aggressively. By right-clicking while running, you can throw the flash to pop right where you expect to encounter enemies, giving them little time to react. To use this technique, aim the flash high and in front of you as you run. The flash should pop just as you enter the line of sight of opponents, catching them off-guard. Avoid aiming too low, as this makes the flash more reactable and easier for opponents to dodge.
Practicing Basics
To get comfortable with basic flashbang cs2 techniques, start by using flashbangs cs2 regularly in every game. Making flash usage a habit, even without a perfect plan, will help you understand timing, distance, and positioning over time. Additionally, practice maps are excellent for experimenting with throws in a pressure-free environment, letting you try out angles and distances to learn how flashbangs bounce and pop in different settings.
Experimentation is key—test throws from various angles and use different surfaces for bank shots, observing how they affect the field. Setting up a custom bind flashbang cs2 can speed up your learning by allowing you to consistently train specific throws. Fine-tuning your cs2 flashbang bind gives you better mechanical control in matches.
Watching replays, whether of your own games or those of skilled players, can also help you pick up valuable techniques—especially when analyzing how opponents react to a black flashbang cs2 effect. Understanding how a cs2 black flashbang disorients enemies helps you plan follow-ups and capitalize on openings. With consistent practice and observation, you’ll build confidence and control over engagements using flashbangs effectively.


